Manipulate the Visualization Viewpoint
Model Visualization
Multibody models lend themselves to 3-D visualization, a qualitative means of analysis that you can use to examine body geometries, mechanical connections, and trajectories in three-dimensional space. In Simscape™ Multibody™, you can visualize a model using Mechanics Explorer, adjusting the view point and detail level as needed. You can modify the model view by:
Selecting a view convention.
Selecting a standard view.
Rotating, panning, and zooming.
Select a Standard View
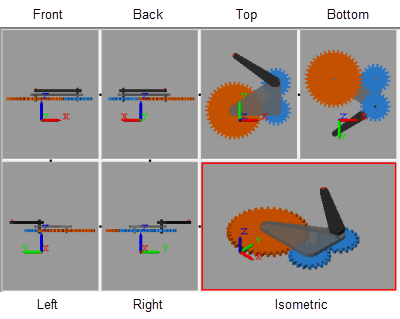
Some view points are so widely used that they are called standard. The isometric view point, corresponding to equal 120° angles between any two world frame axes, is one example. In Mechanics Explorer, you can select such view points by clicking the standard view buttons.
Standard View Buttons
![]()
The figure shows a Cardan gear model from the different view points using
a Z up (XY Top) view convention.

Set View Convention
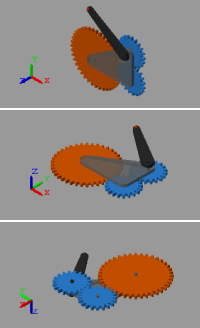
The view convention helps to determine the perspective from which you view your model. You can align three world frame axes with the vertical direction on your screen, each corresponding to a different view convention:
Y up (XY Front)Z up (XY Top)Z down (YZ Front)
The figure shows a Cardan gear model from an isometric perspective using the three view conventions: Y up, Z up, and Z down.

To change the view convention:
In the Mechanics Explorer tool strip, set View convention to one of the three options.
Select a standard view button.
The new view convention takes effect the moment you select a standard view.
Rotate, Roll, Pan, and Zoom
To view your model from an arbitrary point of view or at varying zoom levels, use the Rotate, Roll, Pan, and Zoom buttons. You can find these buttons in the Mechanics Explorer tool strip:
 — Rotate the camera
about a general 3-D axis.
 — Roll the camera
about its current aim axis.
 — Pan the camera in
the current visualization plane.
 — Increase or decrease
the camera zoom level.
 — Change the camera
zoom to show only the selected region.
You can also use keyboard-and-mouse shortcuts. The table summarizes the available shortcuts.
| Button | Shortcut |
|---|---|
| Rotate |
|
| Pan |
|
| Zoom |
|
Split Model View
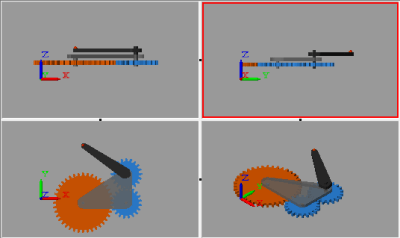
You can view your model from different perspectives, for example, to examine its motion in different planes. So that you can compare different model views, Mechanics Explorer enables you to split the visualization pane into tiles, each with its own view. To split the screen, you use the Mechanics Explorer toolstrip buttons shown in the figure.
![]()
Use the buttons to:
Split the model view into four equally sized tiles, each with a different view point (front, right, top, and isometric views).
Merge all tiles into a single pane with the view point of the last highlighted tile.
Split a visualization tile vertically or horizontally into two equally sized tiles.
The figure shows the Cardan gear model with a four-way visualization split.

You can merge two tiles by clicking the black dot between the tiles. To ensure that the resulting tile uses the view point of one or the other tile, select that tile first before clicking the black dot between the tiles.
